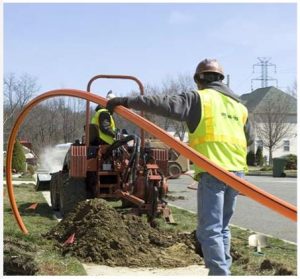
Because every duct run is unique, every project you take on will be unique. So no matter if you’re on your first cable installation project or your five hundredth, we believe there are five details you need to know before you get on the job site to start installing cable.
Why? Knowing this information will set you and your crew up to work the most efficiently and effectively, ultimately maximizing your time, safety, and profit. Here they are:
 1. Fiber OD
The OD (outer diameter) of your fiber is important on so many levels. The first question it helps calculate is: What is your duct fill ratio? For best blowing performance, your fill ratio should not exceed 60%. Secondly, this detail informs what equipment (i.e., blower, cable packs, etc.) you’ll need to execute the install successfully. Note that we did not say “fiber count”. This is because the OD (outer diameter) varies by manufacturer; while your fiber count from Manufacturer A matches one from Manufacturer B, the fiber OD may not match.
2. Duct OD / ID + Type of Duct
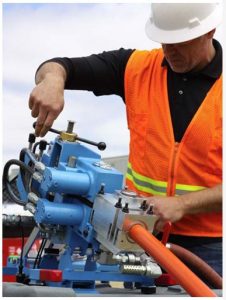
Similarly, the outer diameter (OD), inner diameter (ID), and type of duct you’re installing into completes your fill ratio calculation above and indicate which duct packs you’ll need to connect your fiber blower to the conduit. As an example, if your fiber OD is 1″ and you’re installing into a 2″ duct, the Condux Gulfstream™ 400 fiber blower is the best suited for the job at hand, along with the right sized Cable and Duct Packs.
3. Length of Run + Hand-Hole-to-Hand-Hole Distances
Starting with the big picture in mind helps create efficiencies as you tackle the whole project, one run at a time. The total length of your run plus the hand hole locations help you identify where the best and safest locations are for loops, where couplers are needed to bridge the gap, and potentially also where the best starting point may be. Without knowing where you’re going, it’s more difficult to get started with your best foot forward.
 4. Locations of 90s + Loops
The more information you know about your pathway, the more you can plan, and the better equipped you’ll be. Piggybacking off of #3, knowing how many 90s and loops you’ll encounter, will help you devise a plan that is safe and efficient, and you’ll know what tools and equipment you’ll need on hand to execute. For example, when doing a loop we suggest you connect ~15 feet of extra duct from the exit point to the new entry point with couplers to set up for a seamless install.
5. Compressor Size Needed
For most traditional duct and fiber we recommend a 375 cfm compressor, with 100 PSI – but your answers to #2 (duct details) and 3 (distance) above will help guide this recommendation as well. With all that being said, it is important here to point out that your blowing distance and performance is very dependent on the integrity of your duct. Bad duct equates to low performance (more on this in a minute).
While it is still possible to install cable without this information up front, we guarantee you will have better luck and a more productive install if you take the time to plan and prep accordingly. And, we’d be remiss if we didn’t take it a step further and make a final recommendation. When you get to the job site, with all tools and equipment in hand, always do a pressure test, a proofing test, and a crash test.
Why? One of the most important variables to know when installing fiber is the integrity of the duct. Each of these tests will give you insight into the integrity of the duct you’re installing into and what, if any, challenges you might encounter (or could avoid with additional pre-install work).
Multicom stocks a large variety of products by CONDUX International, the premier manufacturer of underground and overhead cable installation tools and equipment for the data/telecom and electric power markets. Learn More…

