Description
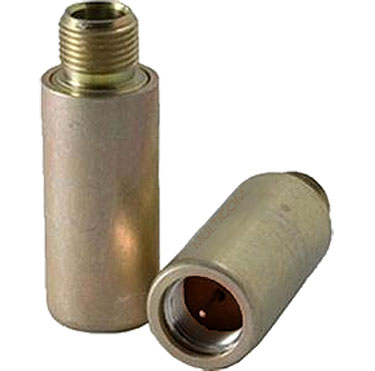
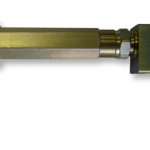
Multicom’s Theft Deterrent Locking Terminators are designed to provide optimal performance in typical field installations. They provide a weather-resistant, high performance termination when installed in less than optimal environments.
Locking Terminator Installation Instructions
1. Verify that the terminator pin (center conductor) is straight and centered.
2. Pull tool Actuator back toward the handle (Multicom LTL-7 or compatible). Insert the Tool into the Terminator. Release the Actuator. While holding the terminator, rotate the tool. A snap will be heard which is the tool engaging the internal drive slots of the terminator. [Fig. 1]

3. Install the terminator onto the port and tighten by rotating the tool clockwise. [Fig. 2]

4. Pull tool actuator back toward the handle and remove the tool from the terminator. [Fig. 3]

To remove the Locking Terminator, reverse these steps.

